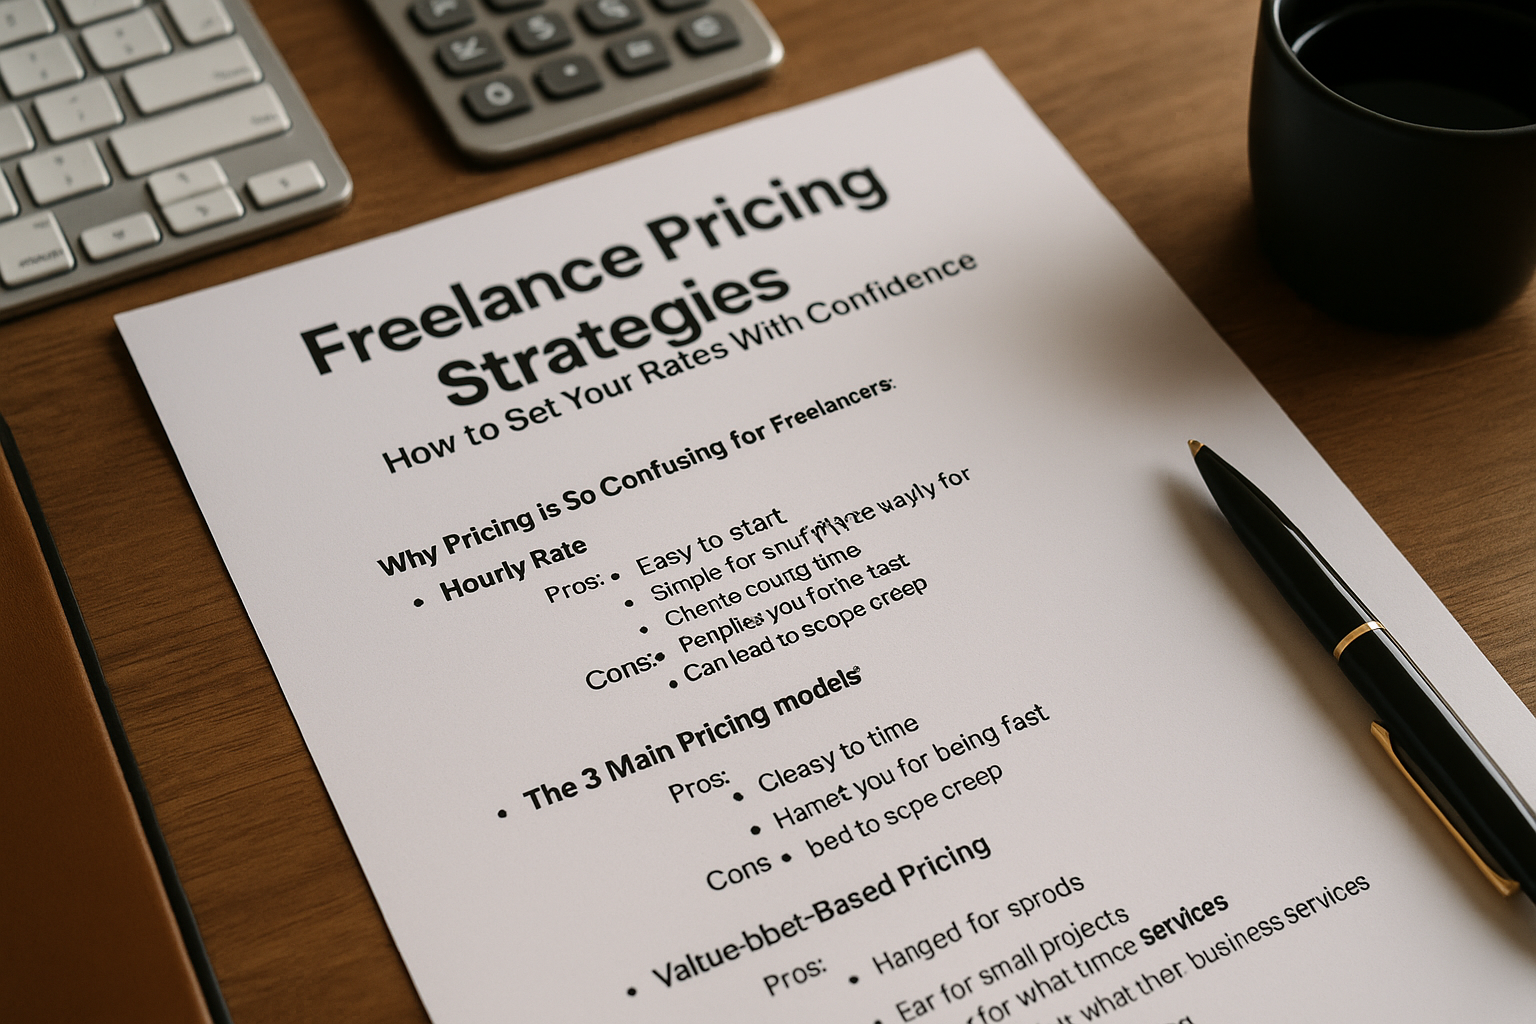
One of the biggest challenges freelancers face is deciding how much to charge. Set your rates too low, and you’ll be underpaid and overworked. Set them too high without strategy, and clients may walk away. Pricing isn’t just about numbers—it’s about value, positioning, and confidence. In this article, you’ll learn the most effective freelance pricing strategies and how to choose the one that works best for your business.
Why Pricing Is So Confusing for Freelancers
Freelancers often struggle with pricing because:
- There’s no standard rate
- You don’t want to “scare off” clients
- You compare yourself to underpriced competitors
- You’re unsure of your value
- You lack data on what others charge
The good news? With the right strategy, you can set rates that are both fair and profitable.
Step 1: Understand the 3 Main Pricing Models
1. Hourly Rate
You charge by the hour for your time.
Pros:
- Easy to start
- Simple for small projects
- Clients know what they’re paying for
Cons:
- Ties income to time
- Penalizes you for being fast
- Can lead to scope creep
Best for: Admin work, ongoing support, or new freelancers
2. Project-Based Pricing
You charge a flat rate for a defined deliverable.
Pros:
- Clear expectations
- More profitable if you work efficiently
- Easier to scale
Cons:
- Risk of underestimating effort
- Needs a clear scope
- Can be hard to price at first
Best for: Design, writing, development, content creation
3. Value-Based Pricing
You charge based on the value you create, not just the work itself.
Pros:
- Highest earning potential
- Positions you as a strategic partner
- Shows you understand the client’s goals
Cons:
- Requires confidence and negotiation skills
- Harder to implement for beginners
Best for: Experienced freelancers offering business-impact services (e.g., funnel design, copywriting, consulting)
Step 2: Research the Market (But Don’t Copy It)
Check what other freelancers in your niche and experience level are charging.
Where to research:
- Upwork, Fiverr, Contra, PeoplePerHour
- LinkedIn freelancer profiles
- Industry Facebook groups or Discord servers
- Freelance rate calculators (like Bonsai or Glassdoor)
This gives you a range, not a rule.
Step 3: Factor In Your Costs
Your rates must cover more than just your time.
Consider:
- Software and tools
- Taxes and fees
- Health insurance (if applicable)
- Time spent on non-billable tasks (admin, marketing, calls)
A good rule: only about 60–70% of your time is billable. Build this into your pricing.
Step 4: Define Your Minimum Acceptable Rate
This is the lowest you’ll work for, based on your expenses, goals, and time availability.
Formula:
- Monthly income goal (e.g., $4,000)
- ÷ Billable hours per month (e.g., 80)
= Minimum hourly rate (e.g., $50/hour)
Even if you charge per project, knowing your base hourly rate helps you price smarter.
Step 5: Offer Tiered Pricing
Give clients options without underpricing yourself.
Example (Logo Design):
- Basic ($300) – 1 concept, 1 revision
- Standard ($500) – 2 concepts, 2 revisions, source files
- Premium ($900) – 3 concepts, brand guide, social media kit
Tiered pricing increases conversions and lets clients choose based on value.
Step 6: Include Revision Limits
Always define how many rounds of edits are included in your price. Otherwise, you risk endless changes with no extra pay.
Example: “Includes 2 rounds of revisions. Additional edits are billed at $50/hour.”
Step 7: Raise Your Rates Over Time
Don’t stay stuck with beginner rates forever. As your skills, demand, and confidence grow—so should your prices.
Signs it’s time to raise rates:
- You’re fully booked
- Clients accept your quotes instantly
- You’ve added new skills or services
- You’re delivering faster or better results
Raise rates gradually and communicate them clearly.
Step 8: Don’t Be Afraid to Say No
Not every client is a good fit. If someone won’t respect your pricing—or wants premium work for budget rates—it’s okay to decline.
You’re building a business, not a charity.
Step 9: Use a Pricing Sheet or Calculator
Make pricing easier for both you and your clients.
Options:
- PDF service guide with pricing tiers
- Interactive calculator on your website
- Templates in Google Docs or Notion
This helps clients self-qualify and makes you look more professional.
Step 10: Price With Confidence (Even If You’re New)
Most freelancers underprice because of fear—not logic. But remember:
- Clients don’t just buy time—they buy outcomes
- The right clients want quality, not bargains
- You can always adjust later, but low rates are hard to increase
Back up your pricing with confidence, clarity, and great communication.
Final Thoughts: Pricing Is a Skill—Learn It Like One
Setting your freelance rates is part science, part art, and 100% important. Don’t guess—use strategy. Test. Refine. And most importantly, believe in your value.
Because when you charge what you’re worth,
✅ You attract better clients
✅ You deliver better work
✅ You build a sustainable business

